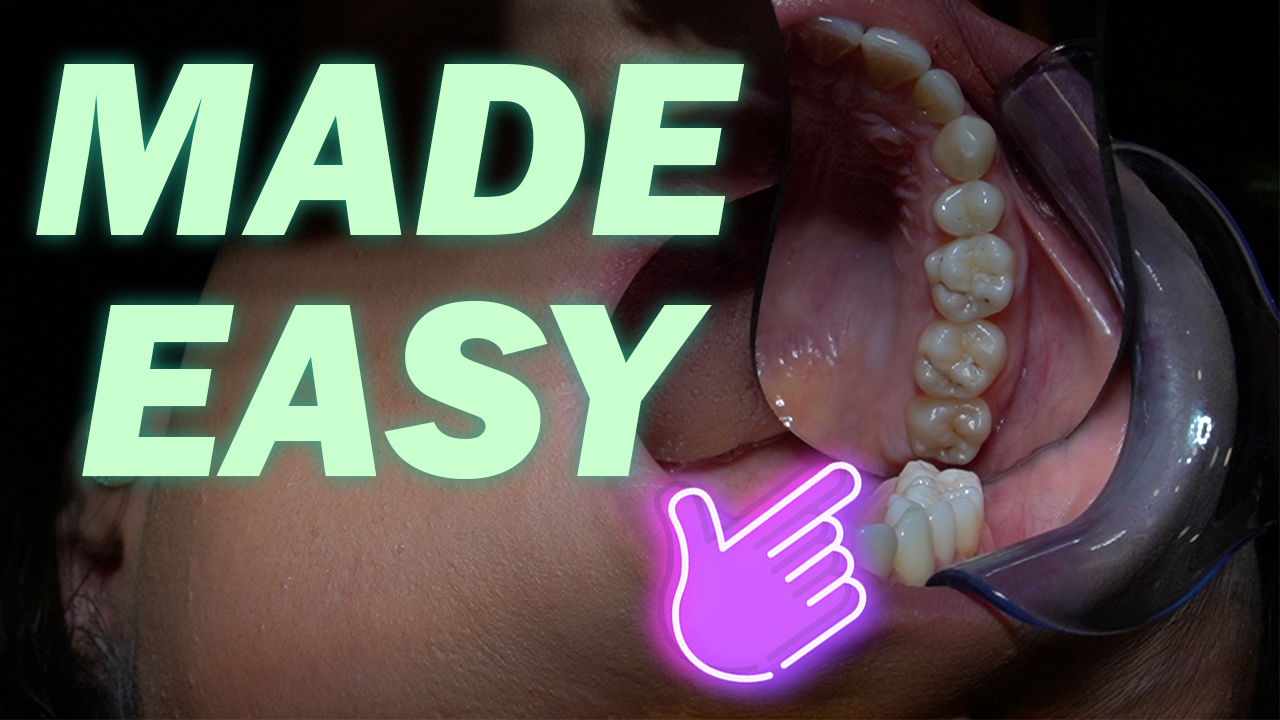
In this video, we discuss when an onlay would be suitable and whether to go with an adhesive or conventional restoration. In the next video, we’ll be discussing the actual preparations that could be used and the entire workflow from start to finish including how to optimally bond an onlay.
This is a summary of the full webinar presented by Dr. Kushal Gadhia on Student ACE courses. If you are a student, you can sign up to watch the full webinar among loads of other webinars on topics such as occlusion, periodontics, dentures and much more by following this link: 🌐 https://www.students.ace-courses.co.uk/
The indications for an onlay are as follows: You can use onlays to electively restore heavily restored teeth or teeth with a developmental defect like amelogenesis and dentinogenesis imperfecta. You can also use onlays when teeth are carious, have a crack or a fracture, when they’ve lost a lot of tooth tissue after doing a root canal treatment or even when there’s a lot of tooth surface loss. With any of these indications, the aim of providing an onlay is to strengthen the tooth and improve it’s prognosis.
When looking for a suitable candidate for an onlay you need to consider the presentation of the tooth in question, the patient themselves and the material choices available to you. However, it’s important to explain to the patient that whatever you do, no restoration is permanent but instead you are just delaying the inevitable failure. For example, placing an onlay on a cracked tooth won’t stop the propagation of the crack, but instead it will just slow down the rate at which it propagates and buy the tooth a bit of time.
In terms of presentation, you need to look at if it is a pre-molar or a molar and whether it’s a virgin tooth or if it’s restored. We also need to consider if the functional or non-functional cusp is compromised and you can use the PUBL rule where the palatal cusps are the functional cusps in the upper arch and the Buccal cusps are the functional cusps in the lower arch. This is the opposite if the patient has a cross bite and in that case, you can use the BULL rule and I’m sure you can guess how that works.
We also need to consider the forces that will be placed on these teeth and the patient occlusion but this needs an entire video dedicated for itself and we’ll be releasing soon. If you can’t wait for the summary and you’re a student make sure to head over the student ace courses website where you can sign up for free to watch those seminars.
In the previous video of this series we’ve covered how root treated teeth affect the need for cuspal coverage right after obturating so feel free to watch that video too for more information.
The final thing to consider when a tooth presents to you is the amount of tooth tissue that remains and more importantly how much dentine would be left after you prepare the tooth for a particular type of restoration. This should be visualised in your head before taking a bur to tooth tissue and if there is a sufficient amount of tooth structure left, then that particular design for an onlay would be acceptable. Also in terms of coronal tooth structure, we must look at the isthmus for an MOD restoration. If there is less than a third of the tooth lost between the buccal and palatal cusps, then it’s argued that cuspal coverage wouldn’t be needed.
However, we know that we often get heavy forces occluding where the ridges are and so if these are lost, we may need to increase the strength with cuspal coverage. We also need to assess how much height would be remaining after the preparation and we know that the ferrule should be a minimum of 1.5 to 2mm all the way around the tooth, especially interproximally and on the functional aspect. Finally, you should check that you have good attachment around the tooth so that you don’t invade the biological width.
All of these factors will help you decide on the material you want to use to fabricate this onlay and if it’s even possible.
Once you’ve thought about the presenting tooth, you need to think about the patients aesthetic concerns, age, MH, consenting process and whether they have a parafunctional habit. For example if a patient had canine guidance with a steep disclusion and no involvement of the premolar you’re trying to restore, and it had an MOD restoration; the more conservative option is to replace the MOD with a composite restoration and it should have a good prognosis and delay the restorative cycle. On the other hand, if a patient occluded in group function and had a parafunctional habit, of course it would be better to restore this premolar with cuspal coverage.
Before you start anything, you also need to make a decision about whether you’ll be doing a conventional or an adhesive restoration and the material you’d like to use to restore the tooth. If you chose the conventional route your material choices are between Gold and Emax and if you chose an adhesive restoration, your choices are between Composite, Emax and Gold. You make this decision based on a number of factors.
If you opt for a conventional onlay, you’re margins are allowed to be subgingival, because there isn’t the same need for moisture control. You’ll also need to have good retention and resistance form with an adequate prep height and that 6 degree taper. However, while the preparation may be more difficult for conventional onlays, the cementation is a really quick and easy process.
If you opt for an adhesive material, you won’t need the same retention and resistance form and the margins have to be equi or supra gingival and there needs to be 90% of the enamel still remaining so that you can properly bond the restoration to the tooth. We should also be aiming to create rounded and smooth preparations to prevent stress points from sharp edges which could lead to crack propagation. In this case, while the prep will be easier, the bonding will be much harder and time consuming and a rubber dam is always necessary during the bonding procedure.
📱 Follow Ace courses on Instagram: www.instagram.com/ace_courses
📱 Follow us on Instagram: www.instagram.com/two.dentists
Check out our other content
If you’re interested, feel free to check out our other Blogs, our Instagram page, or our YouTube channel for more.


