Hi guys! We usually make content for other dentists but this one’s actually directed to our patients and the public. In this short blog we’re going to be taking you through some instructions for whitening and so we hope you find it useful.
So first of all, congrats on starting your whitening treatment. This is one of the safest treatment modalities in dentistry and carries very little risk, even though it can have such a large and positive impact on your smile.
Your dentist will give you top and bottom whitening trays. You start by injecting a small amount of Whitening Gel into your whitening tray on the middle outer surface of the tooth as shown on image 1.
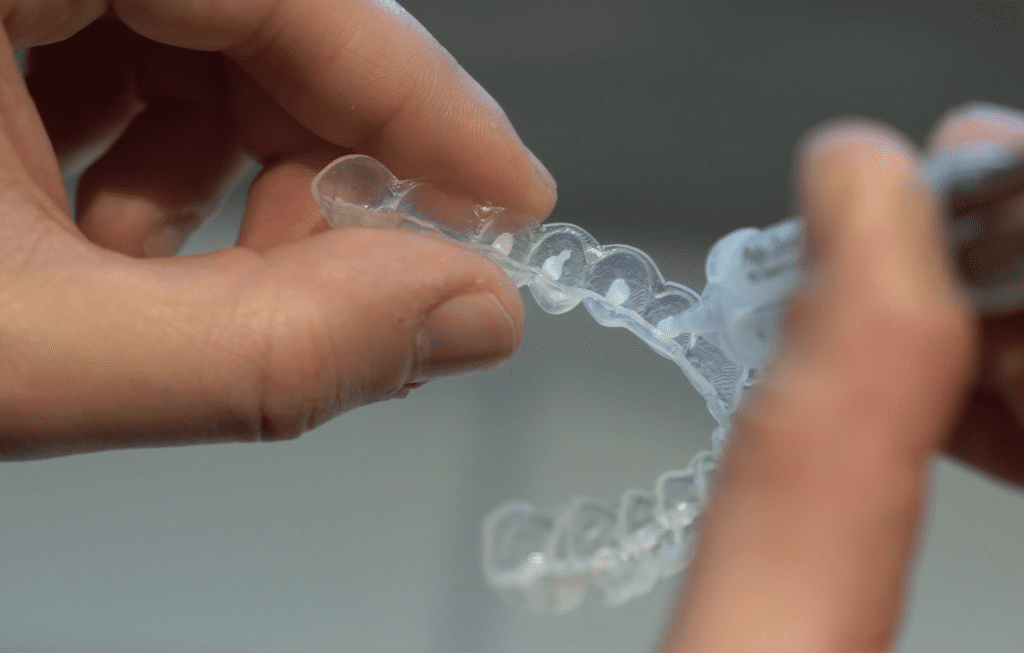
We advise placing the gel on all of the teeth that are visible when you smell for most people this is the 10 front teeth. If you place the gel too low it might not whiten the neck of the tooth and if you place the gel too high it might leak out or irritate your gums. If a bit of gel leaks out of the tray just wipe it with a paper towel and put less gel in the next time.
You want to do this either at night time or daytime as instructed by your dentist depending on the type of gel that’s been given to you. If you go for the daytime option you will need to whiten for 30 minutes in the morning and 30 minutes in the evening. And if you have the nighttime whitening gels, you would wear them at night time whilst you’re sleeping. These timings can differ depending on the system that you have, so double check with your dentist.
Before you place the whitening tray in, for better results we recommend that you dry your teeth with some tissues. You will need to carry this treatment out for two weeks in most cases and few heavily stained cases the dentist may recommend that you continue with this treatment for four weeks. You should do your whitening after you’ve done your flossing and brushing of your teeth. After you take your trays out, wash them under cold running water and brush the trays with a soft toothbrush to get rid of any gel that’s inside.
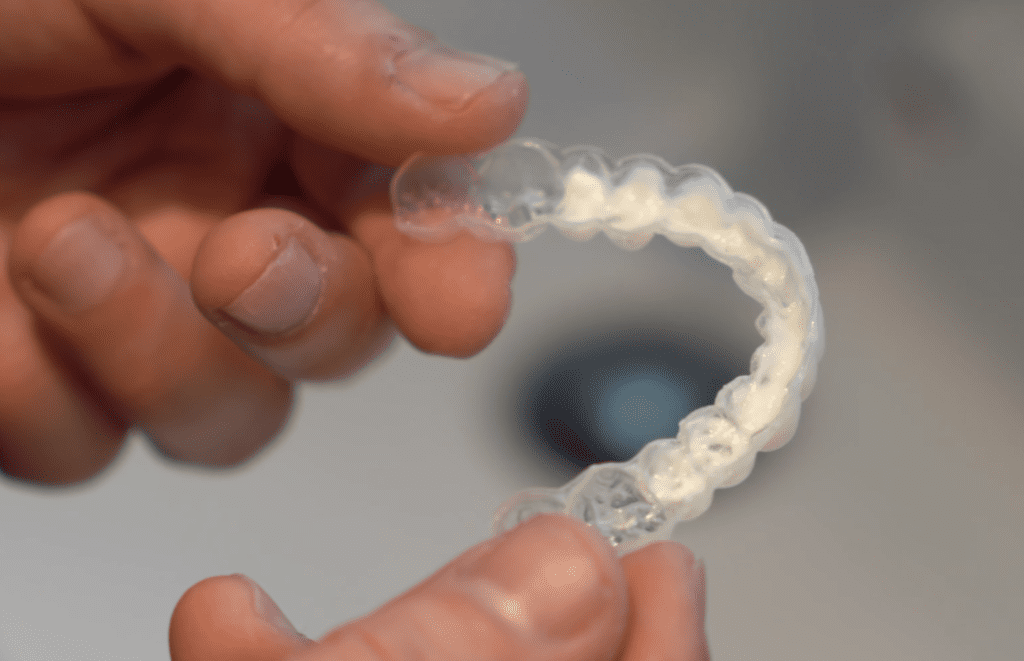
We understand that it’s not uncommon to experience some sensitivity. Before you start the whitening and during the treatment, you should use sensitive toothpaste. If the sensitivity becomes overwhelming during your treatment take, one day off from whitening and place sensitive toothpaste in your trays overnight instead (image 2). You can do this as many nights as needed before returning to your whitening. usually one or two nights is enough.
We advise a white diet, avoiding food and drink that are likely to stain your teeth, as well as smoking. The longer you do this the longer the whitening effects will last. If you have a composite bonding appointment, you shouldn’t whiten your teeth for 14 days before the procedure or it will significantly increase the chances of your bonding failing.
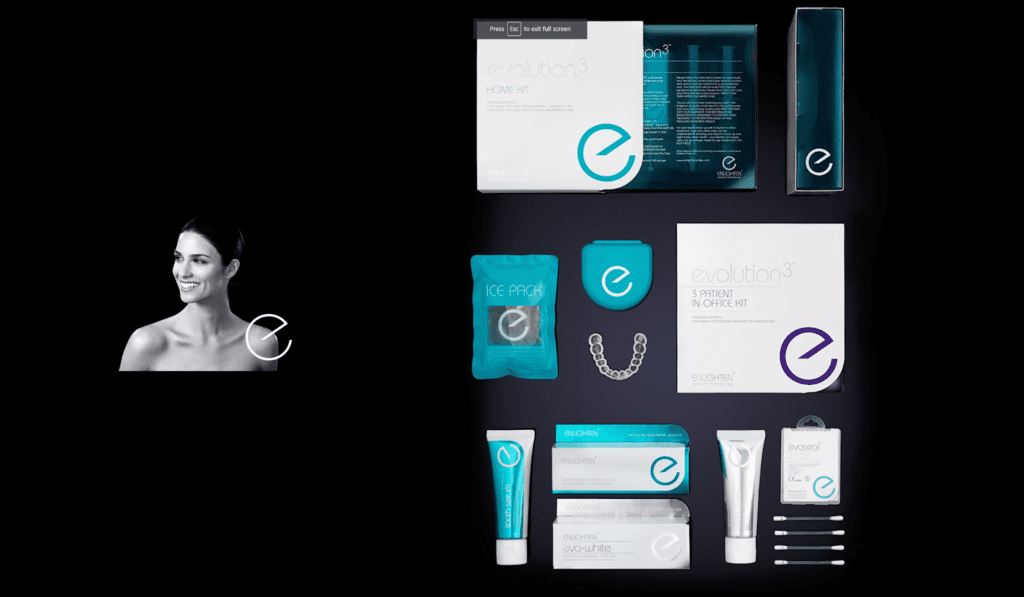
The key difference with our premium Enlighten whitening product (image 3) is that you can continue with your current lifestyle and food habits without affecting your whitening treatment. It’s also the only whitening system which guarantees the brightest video shade of B1 for every patient and can last a lifetime if the instructions are followed. It also comes with a special custom whitening tray designed by Enlighten for the optimal results during treatment. If you have recently completed Invisalign and you have Vivera removable retainers, evidence has shown that these specific trays can also achieve the same optimal results.
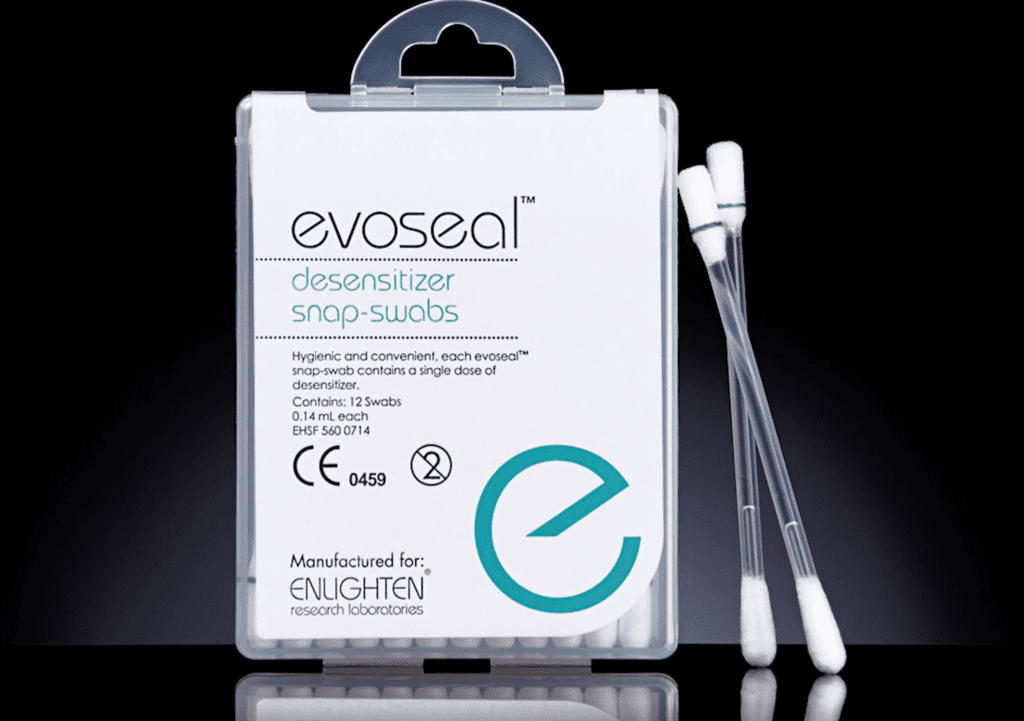
With Enlighten you will also be given a special toothpaste for before and during the treatment and another one for after the treatment. As well as this, we will place a gel on your teeth at the practice to reduce the sensitivity experienced during the treatment and will also send you away with a desensitizing kit (image 4). This contains swabs from the kit and we recommend you wear it before or after you wear the trays, especially in the first three nights to reduce sensitivity.
You may or may not receive in-house whitening treatment for about 40 minutes depending on what the dentist’s instructions for your particular requirement are. You will also be given two different types of gel. The clear 10 percent gel is to be used for the first seven nights and then the blue 16 gel is to be used for the remaining nights and for any top up nights.
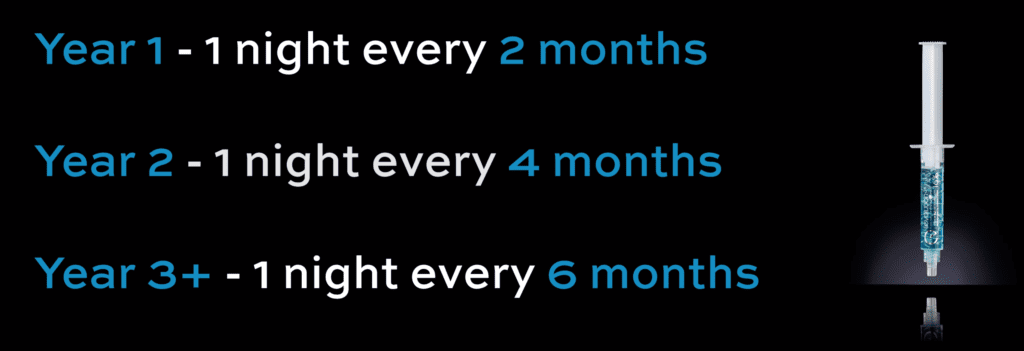
For the top-ups you’ll need a fresh syringe once a year and you will need to carry out one night of whitening every two months in year one, one night of whitening for every four months in year two and one night of whitening every six months from then onwards (image 5).
And that’s everything you need to know about your whitening instructions. thank you guys so much for reading. Good luck with your whitening and if you have any questions feel free to message us or put a comment down below. If you guys are interested in whitening then feel free to contact us as well.
For further information on whitening or if you are interested in whitening your teeth, please feel free to contact us by direct messaging us on Instagram. Alternatively you can contact our practices in London directly.
- We both work at Harrow Weald Dental Practice – https://www.hwdental.co.uk – 02084278120
- Ali also works at Zental – https://www.zental.uk/ – 020 3982 8602
- Zoh also works at Totteridge Dental Studio – https://totteridgedental.co.uk – 020 8445 5024